How I painted Jinu [Step by step painting tutorial]
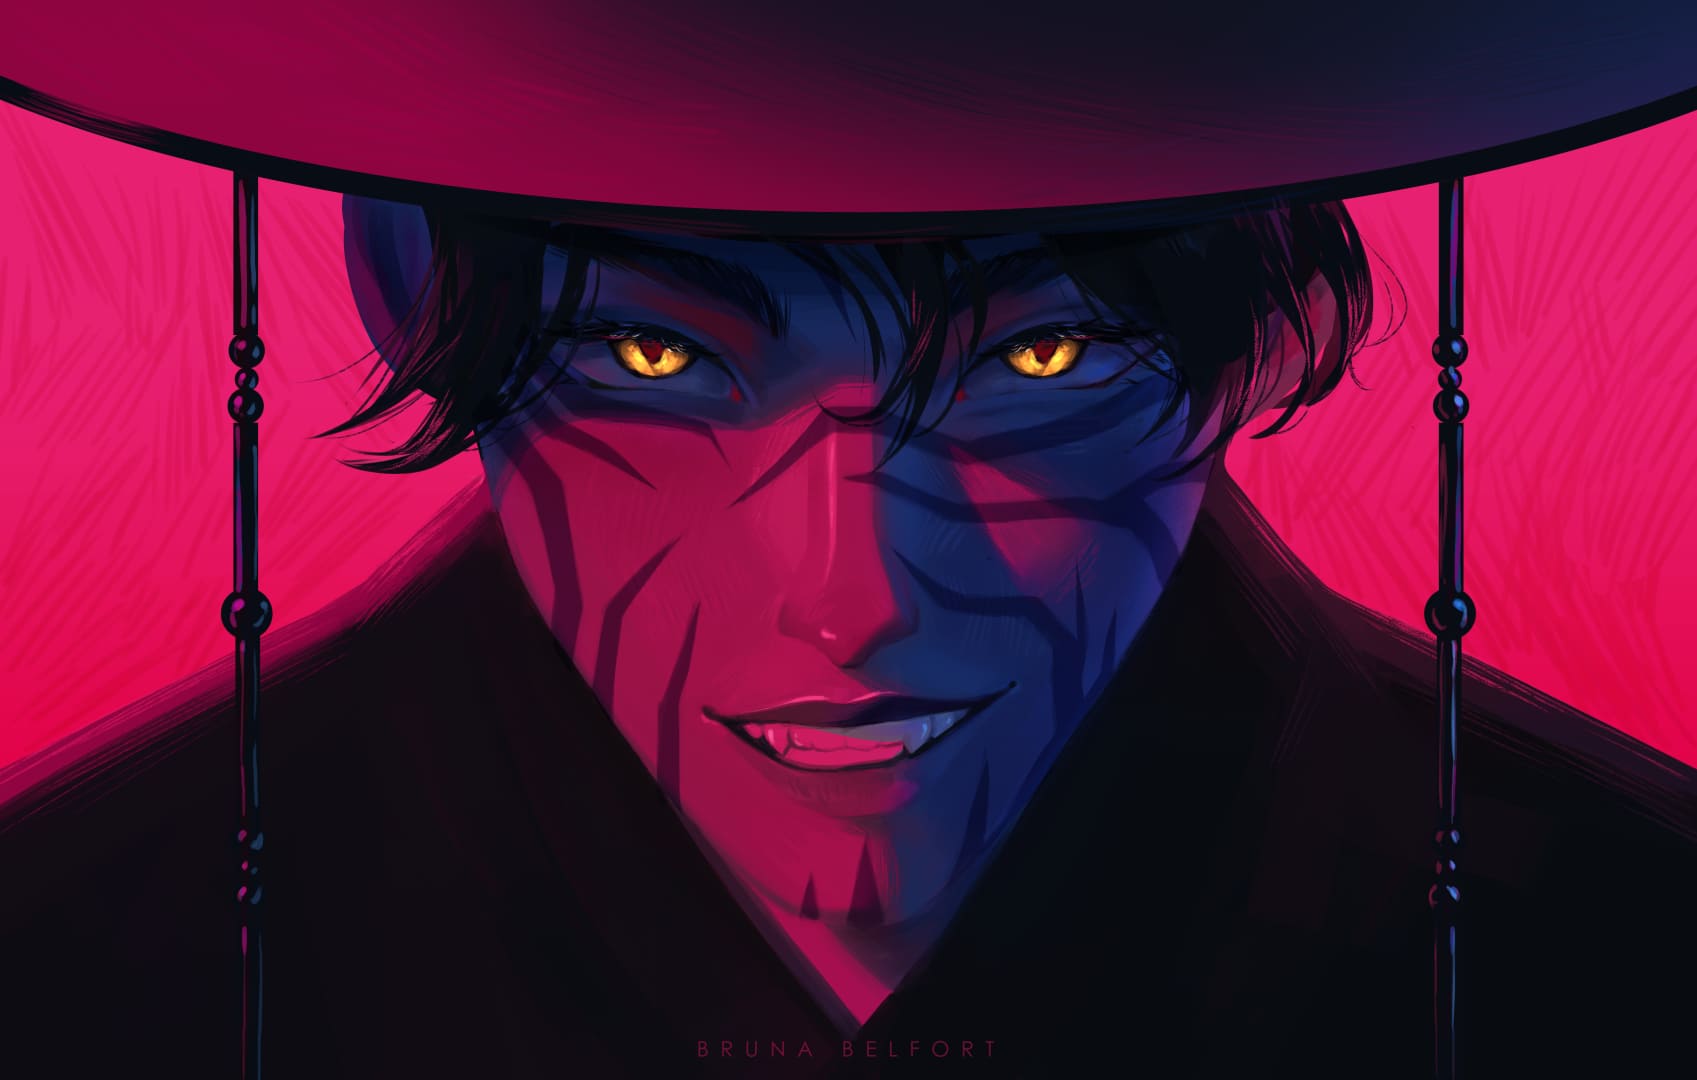
Jul 11, 2025Last week, I shared this painting of Jinu with you:

And I got many replies asking me to explain the step by step process behind it. Seeing the detailed process of other artists is one of the things that can help us grow the most, so today I’ll share exactly how I made this painting!
First, I gathered references for the character, his outfit, and the colors I wanted to use:
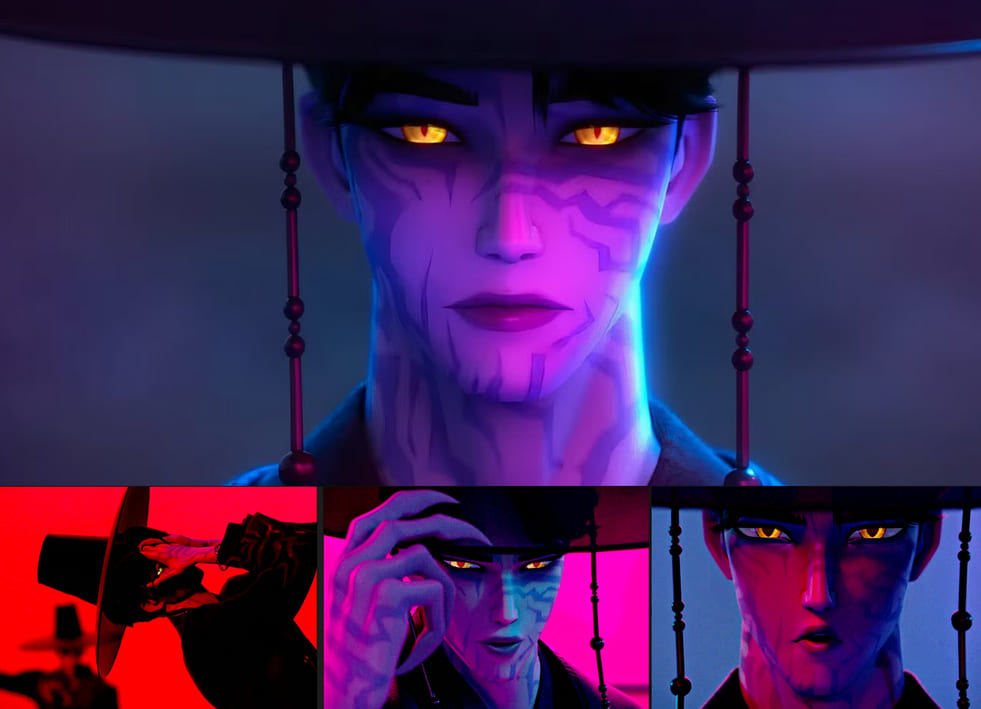
I wasn’t sure if I’d go with red and black or magenta and blue at first, but either way, I knew the general idea and vibe the image would have. I also knew I wanted his golden eyes to be the focal point and the area with highest contrast.
But before making any color decisions, I started with a sketch:
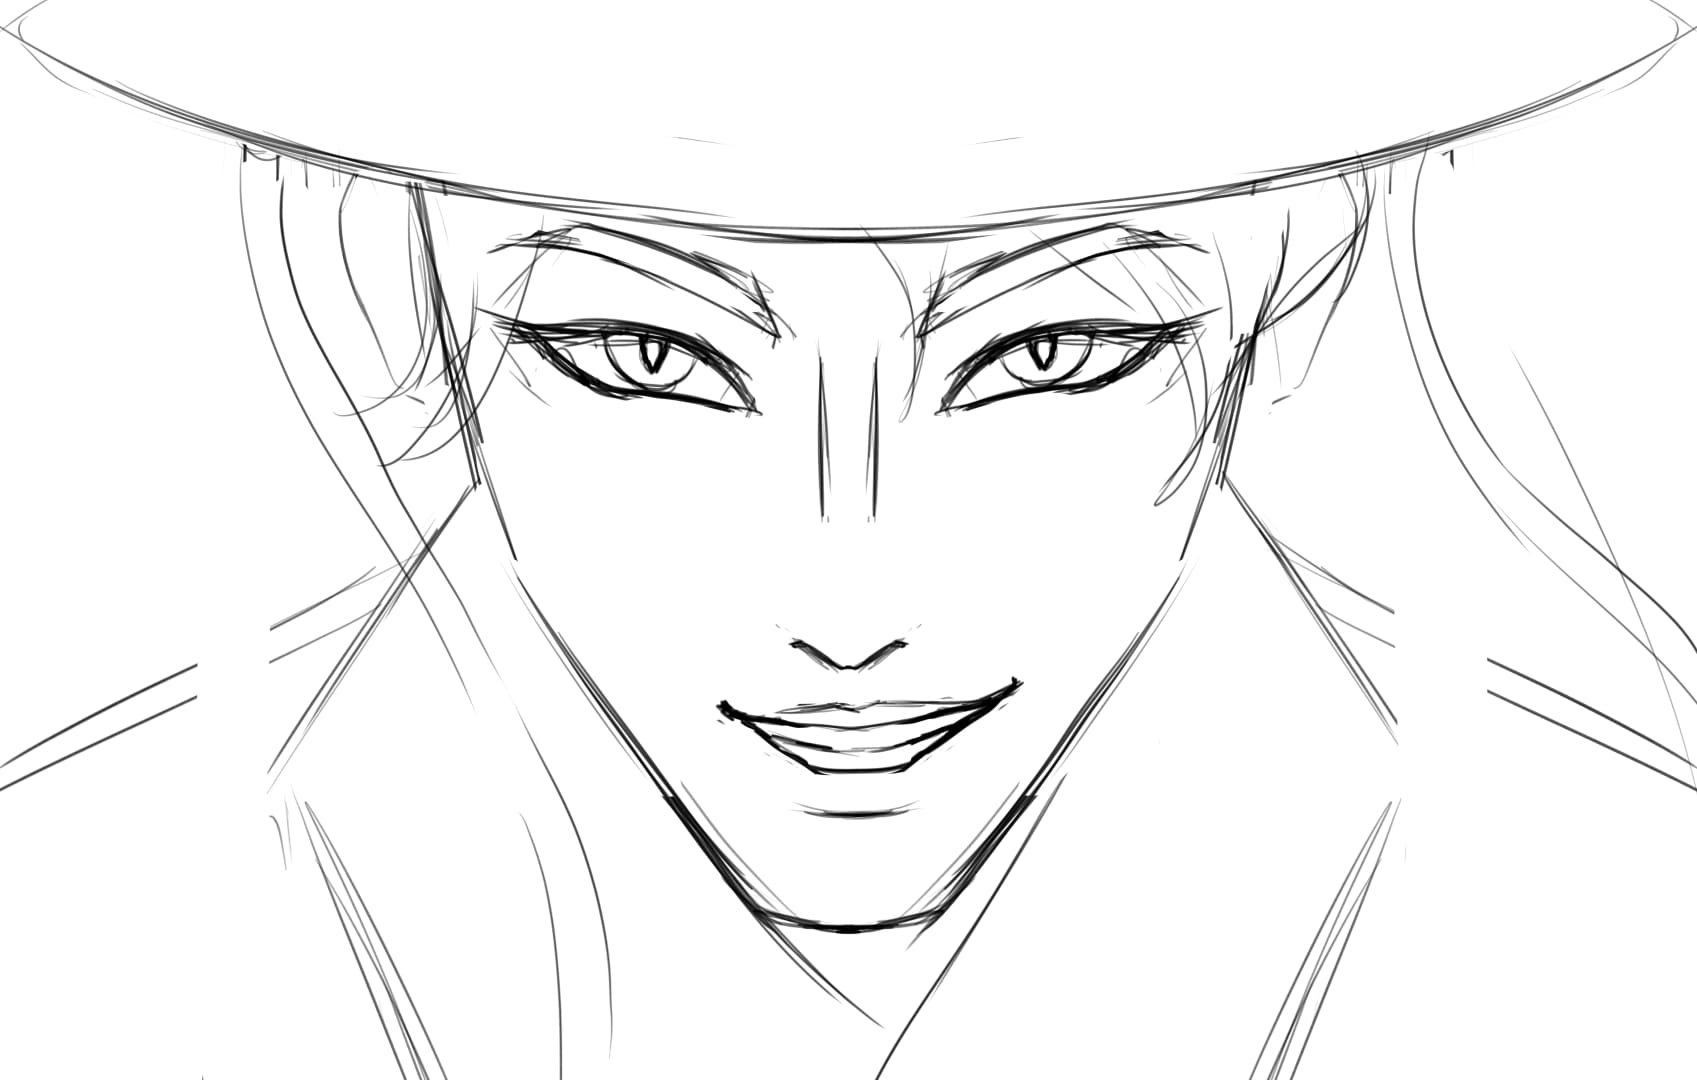
It’s very messy, like all my sketches are haha. I don’t like drawing digitally, and since I knew I’d discard the lines later, there was no point in spending too much time polishing them.
What matters at this moment, for me, is to make sure the structure is correct.
After that, I painted some basic flat colors. I use the lasso fill tool inside Clip Studio Paint for it, os it’s much easier and quicker than painting with a brush:
Having the flat colors in place, it was time to start the light and shadow. To ensure I had the light shapes correct, I created a 3D Model:
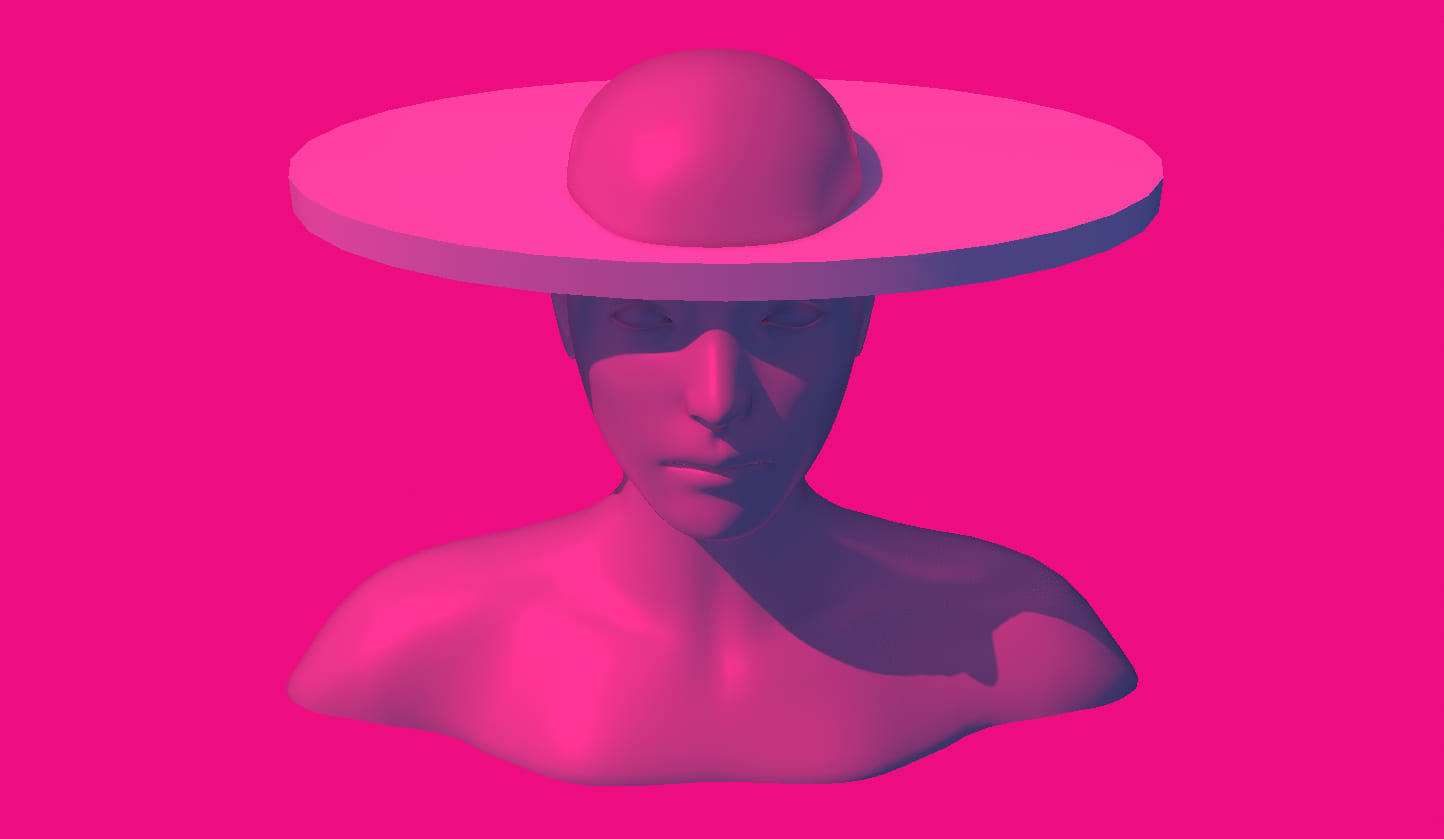
In case you’re curious, I used PortraitStudio for it. Clip Studio Paint also has some great 3D features, but I prefer PortraitStudio’s accuracy for light.
3D models are an amazing tool to ensure our painting looks believable! It’s easy to paint when you have a cheat sheet like this.
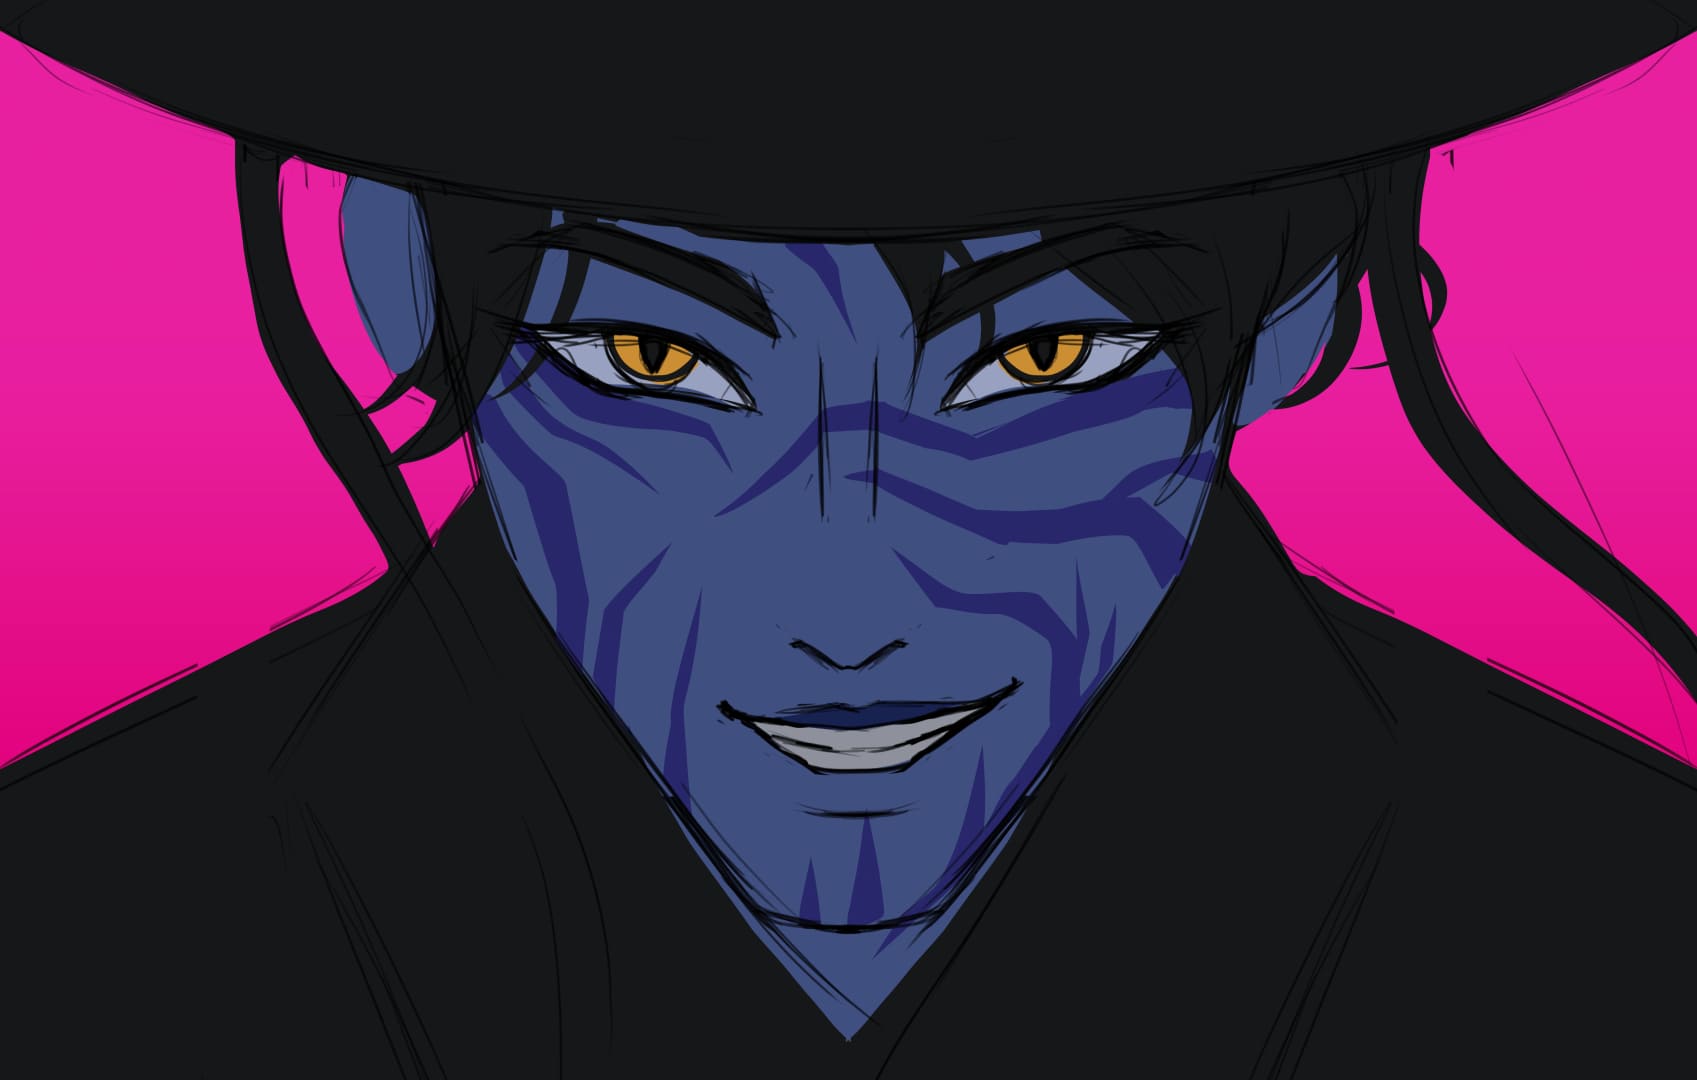
So I created a new layer in Hard Light mode and painted the pink light; Then, with an Overlay layer, I placed the dark blue shadows; and finally, with another Overlay layer, I painted a blue light coming from the right side:
With this, the light structure is all complete! So the next step is to start softening everything, blending and polishing edges. One of the hardest parts of realistic and semi realistic art is edge control: making sure there are hard and soft edges where they need to be.
At first, the blending makes everything look a little blurred and smudged:
Not pretty at all hehe. But there’s always a moment in the painting process when the art just looks kinda ugly (at least, for me… wait, is it just me? )
After that, you just gotta keep polishing. Painting and blending, making selections to control edges, this type of thing.
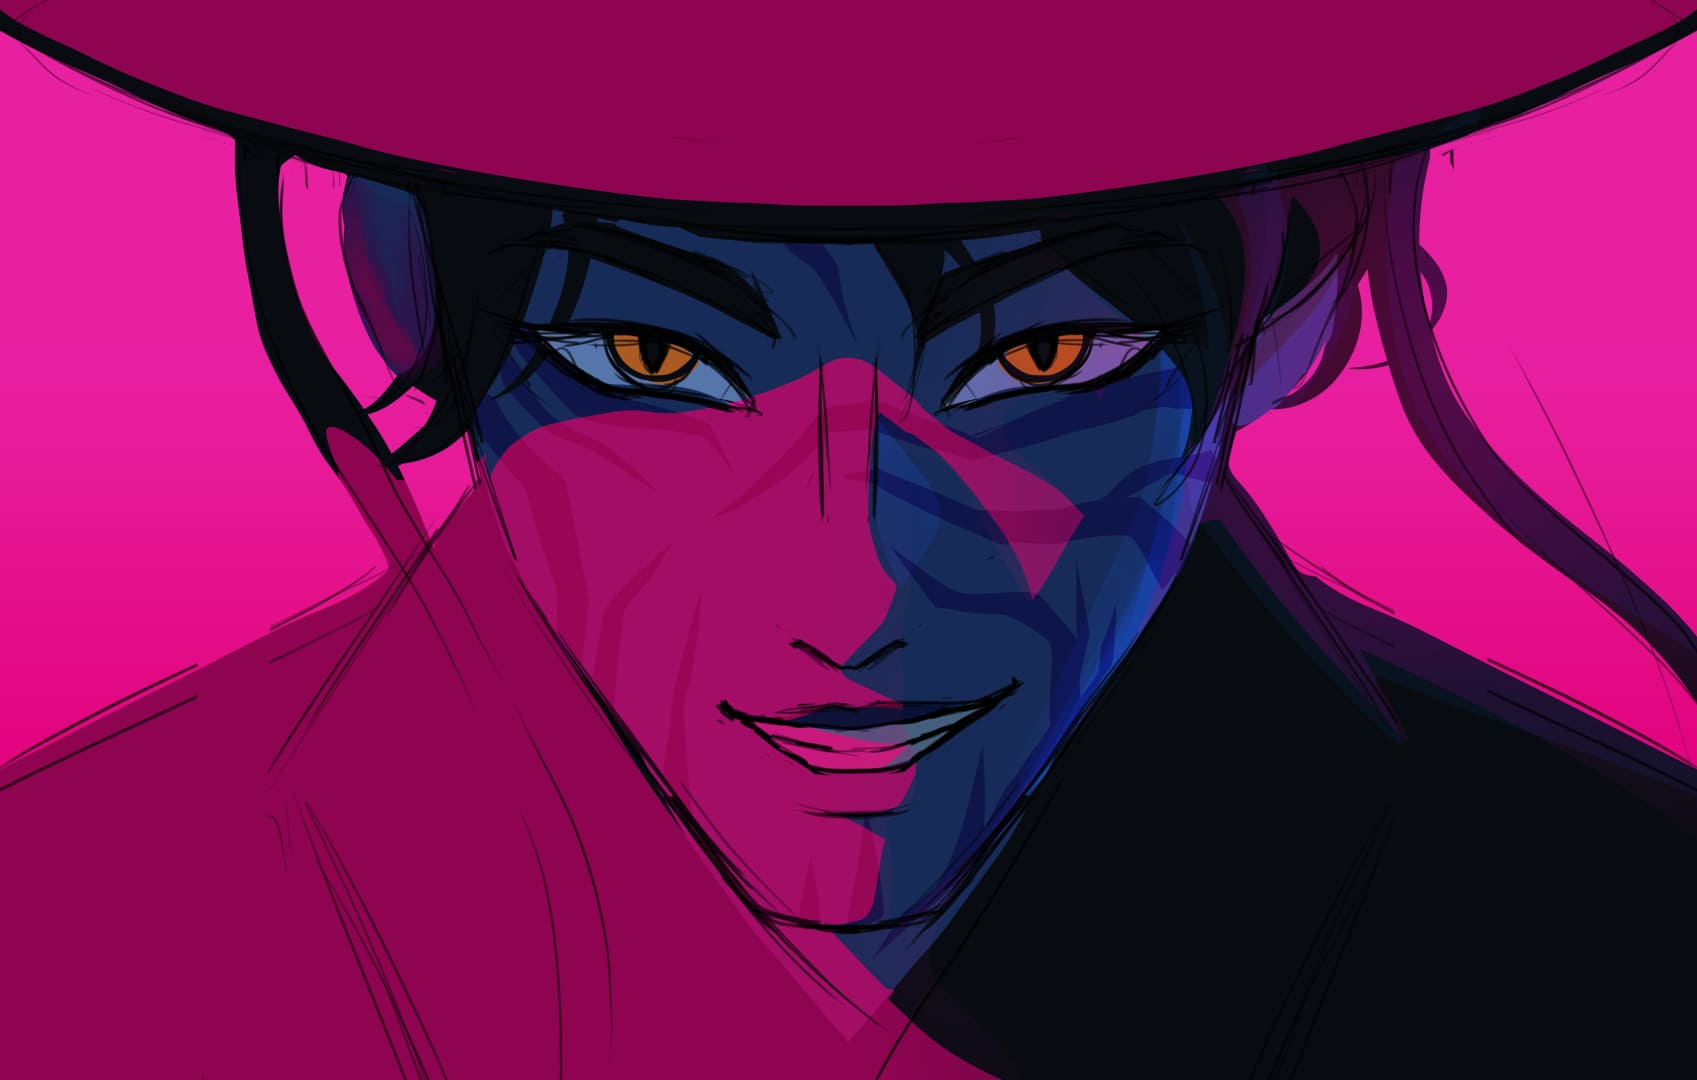
Notice that the marks on his face are not part of this process. I kept them on a separate layer, so I could easily paint over his skin without worrying about keeping the marks in place!
When I polish some more—especially the mouth and eyes—, he starts looking quite handsome already:
The face is what we’re drawn more to in a painting with a character, so even small changes to polish the image can get it that much closer to looking complete!
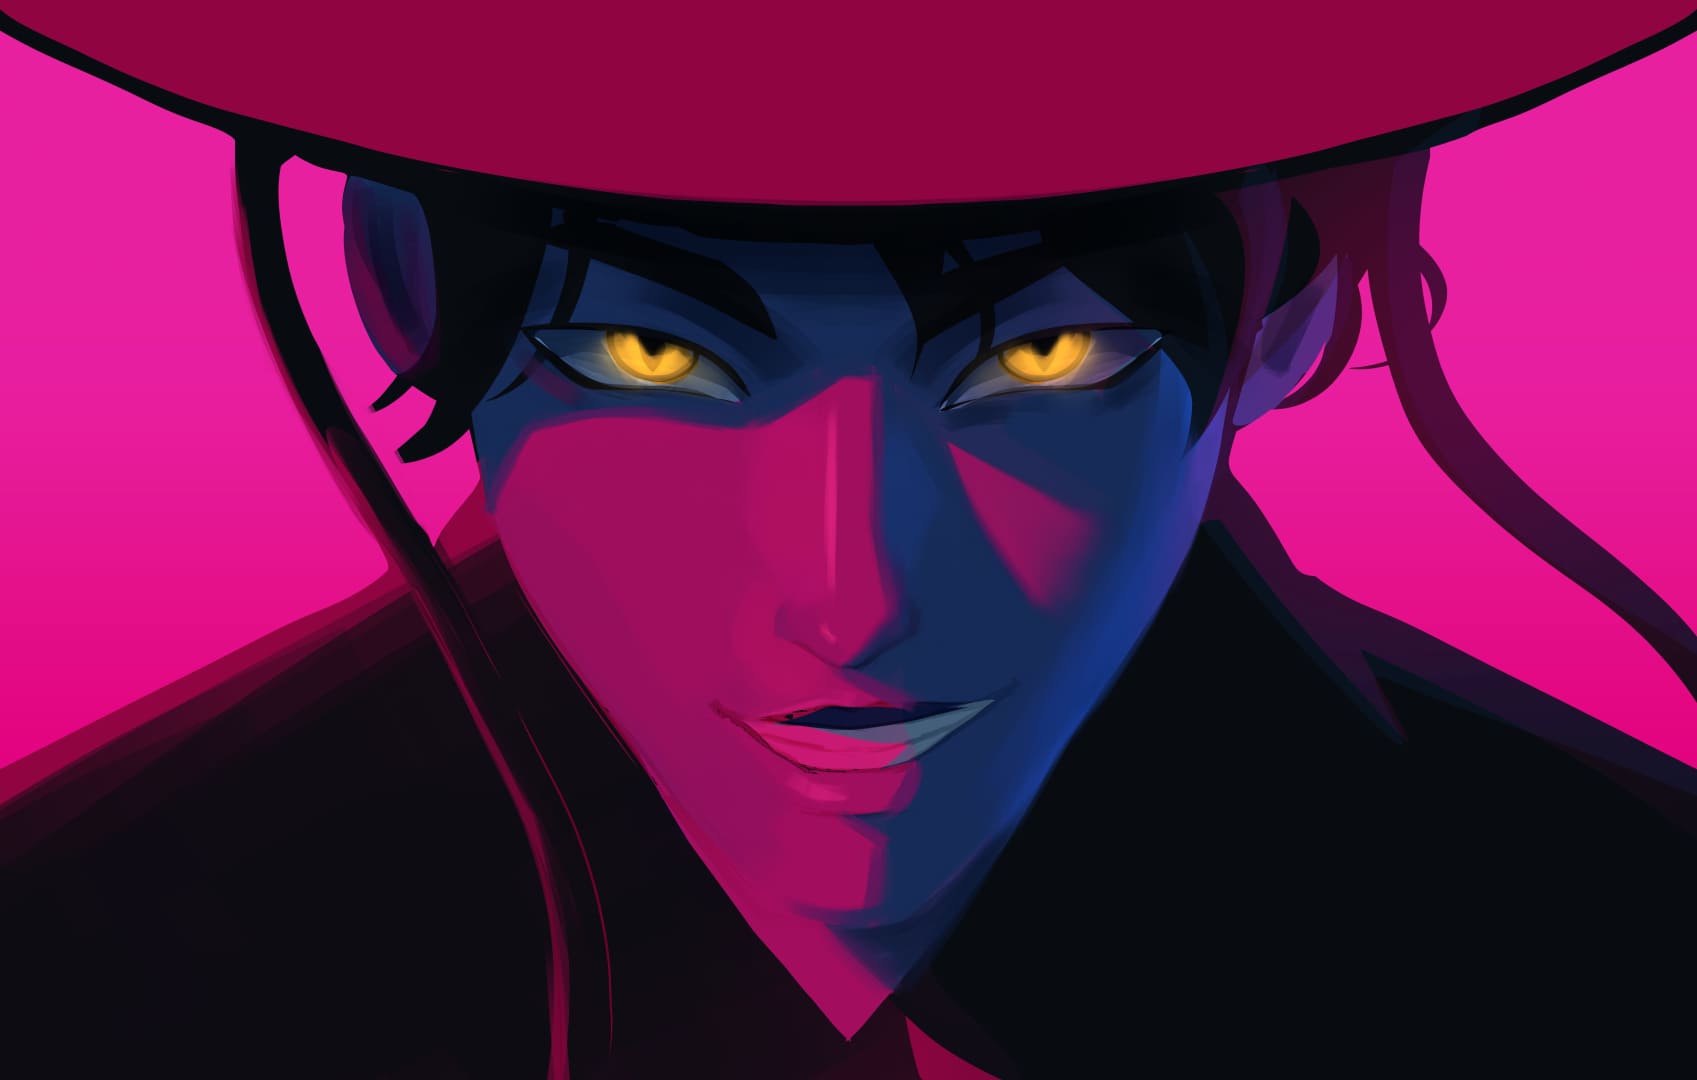
At this point, the image was almost done. All that I did next was to add more details—some texture on his skin, highlights on the eye and hair, this sort of stuff. I also painted everything that was not his face, like the hat, the hat beads, and his clothing:
You can see that I also changed the colors slightly (made the pink more red) and added some scratches to the whole painting, especially the background. That’s just my personal preference! Lately I’m really digging this sort of texture in a painting, so I paint it as much as possible 😁
And that’s basically how I did this painting! In the next few days, I’m posting a Youtube video with this process in detail, so stay tuned for that.
If you liked this tutorial, you’ll love my weekly newsletter, where I share art content and tips! Fill out this form to join:
Lots of love,
Bruna Belfort