Step by step painting process [Jinshi]
Jul 26, 2025These days it’s super cold here, we’re at the peak of winter and I gotta tell you, it’s not easy to go out and train when the weather is like 5°C and the sun doesn’t come out until 7:30 AM 😆
But there’s also this good feeling of winter, dressing up layers and layers of comfy clothing, drinking some tea, and painting a winter scene. Which is my cue to show you my new artwork! (smooth huh?):
I’ve been promising a fan art of Jinshi from Apothecary Diaries ever since I drew Maomao in April... but hey, better late than never.
I had fun with this painting, even if it was also a little stressful - I had a little trouble getting the light to look good, and rendering was a lot of work, but in the end, I love the result. Let’s see how I made this painting!
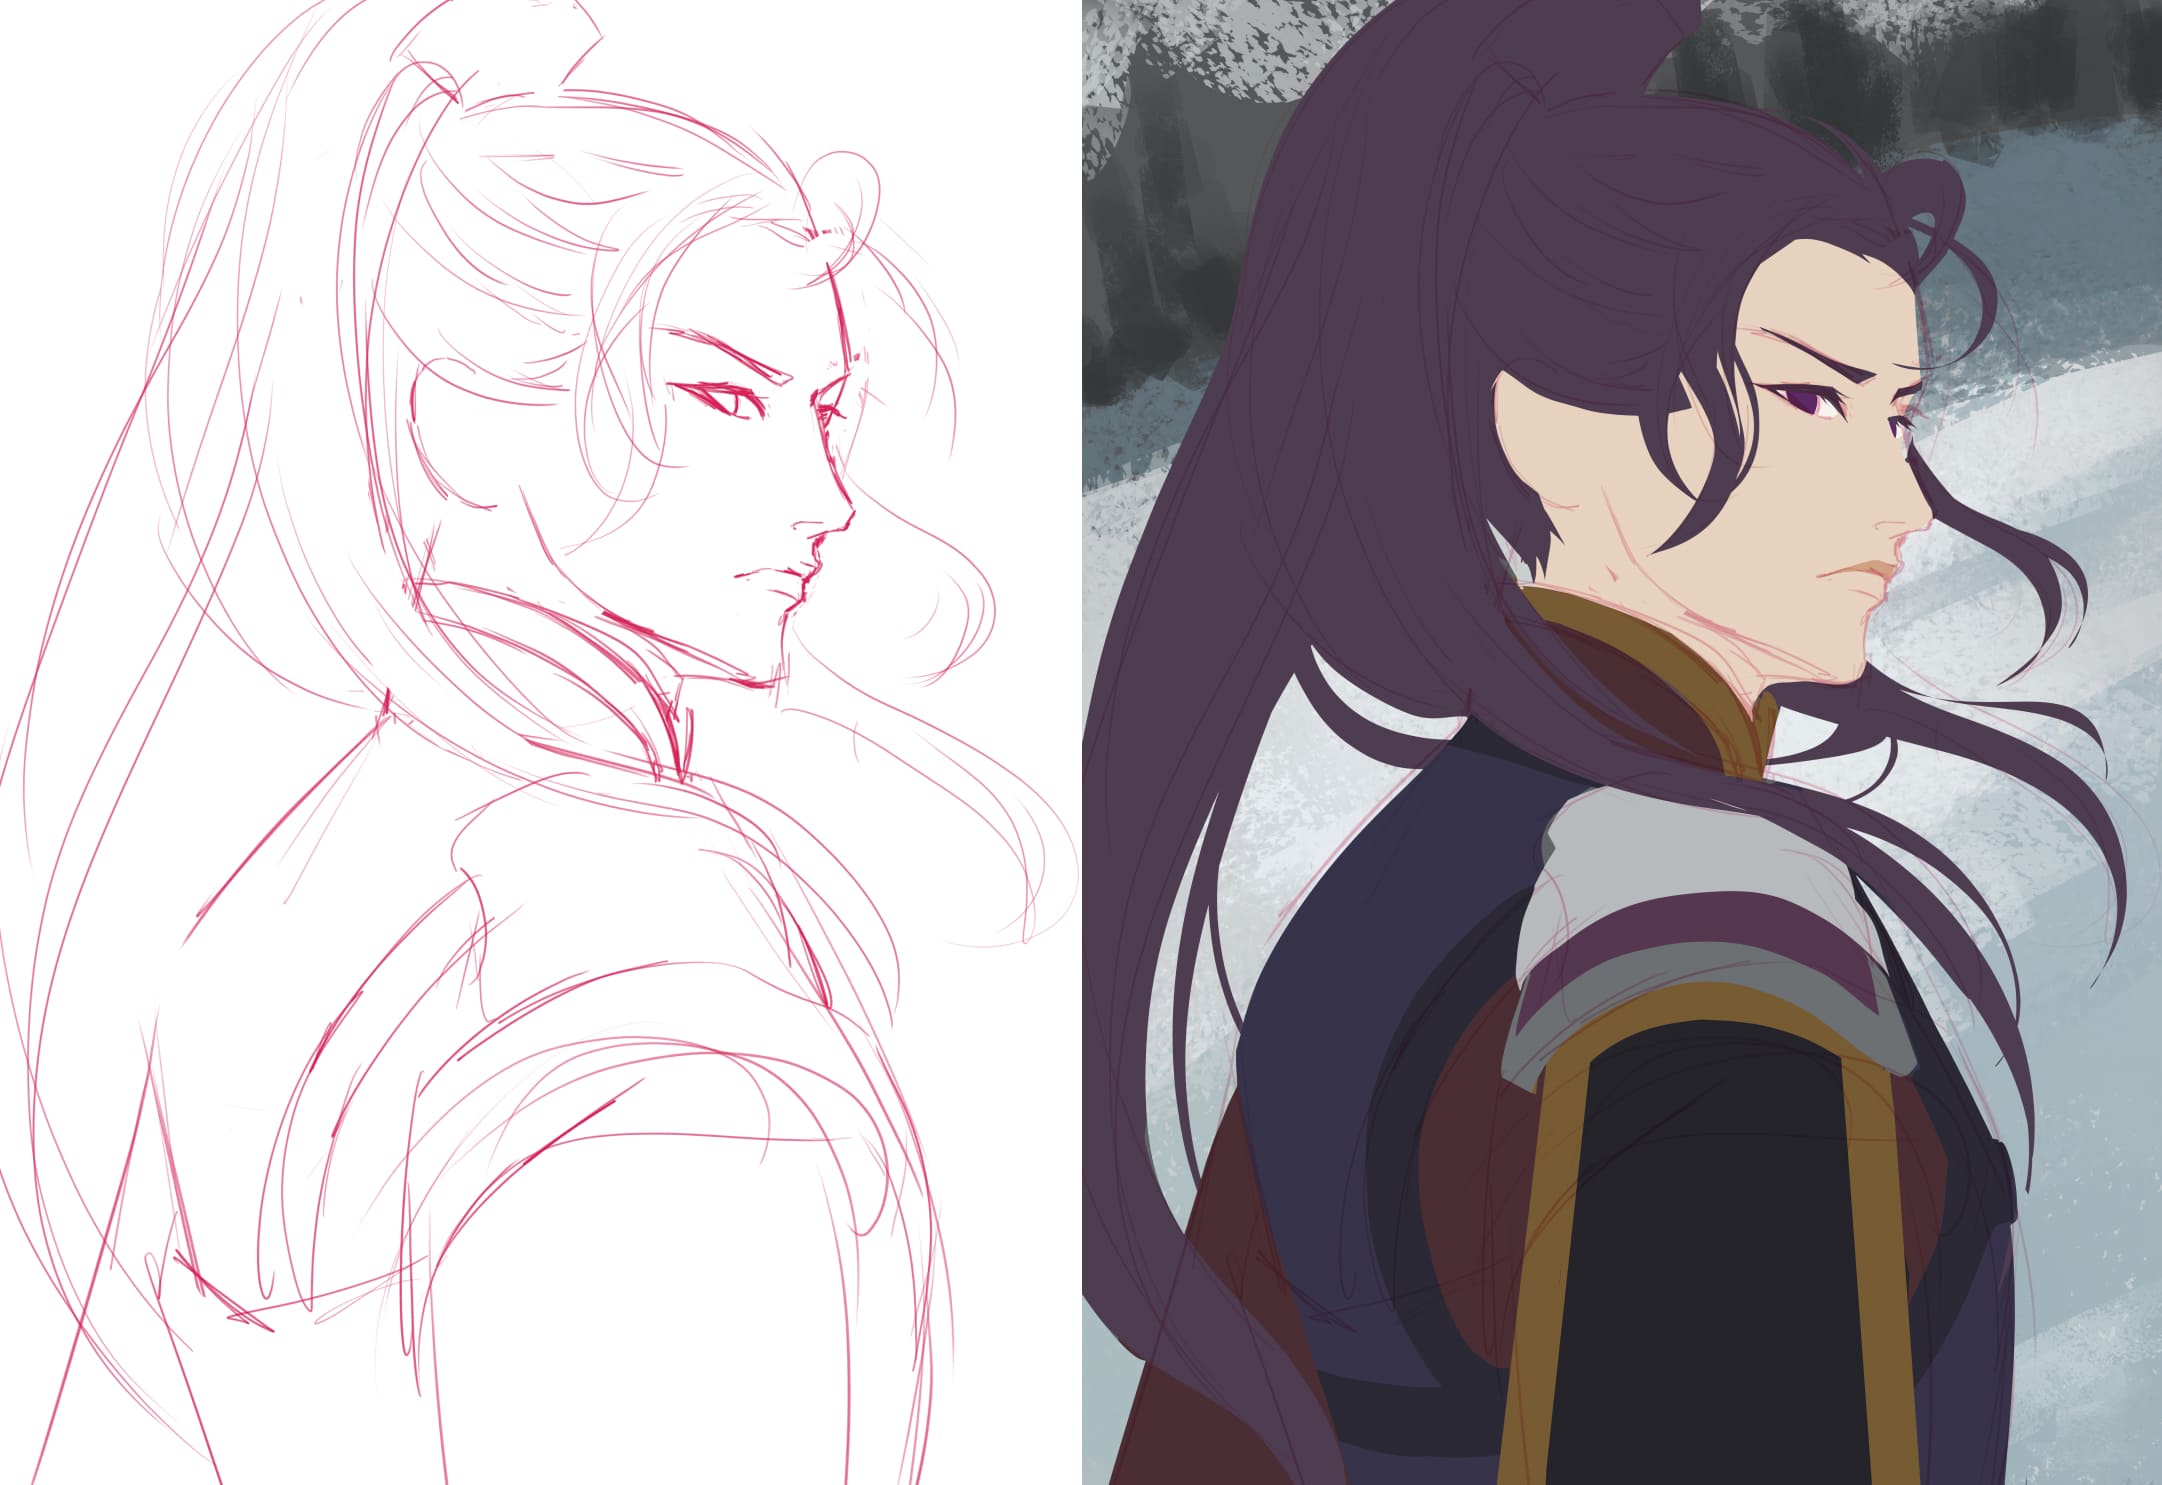
As usual, I started with a loose sketch and some flat colors. Honestly, I don’t take the time I should take with the sketch because I hate drawing in digital art (although I love painting digitally—go figure)... as a result, I frequently leave areas unresolved, and I need to fix them Later.
This is not peak efficiency, but at this point, I’ve accepted that’s how I operate best 😆
After the sketch is complete, I add some base colors. They are flat with 100% opacity — I added them with the lasso fill, my favorite tool. I used desaturated colors because, well, I always do anyway, but also this time I knew it would be a winter scene and colors should be less saturated
Next, I placed some shadows (two layers of them for depth) and made the whole image more blue. Desaturated really isn’t my thing, so I decided to push the blues a lot more.
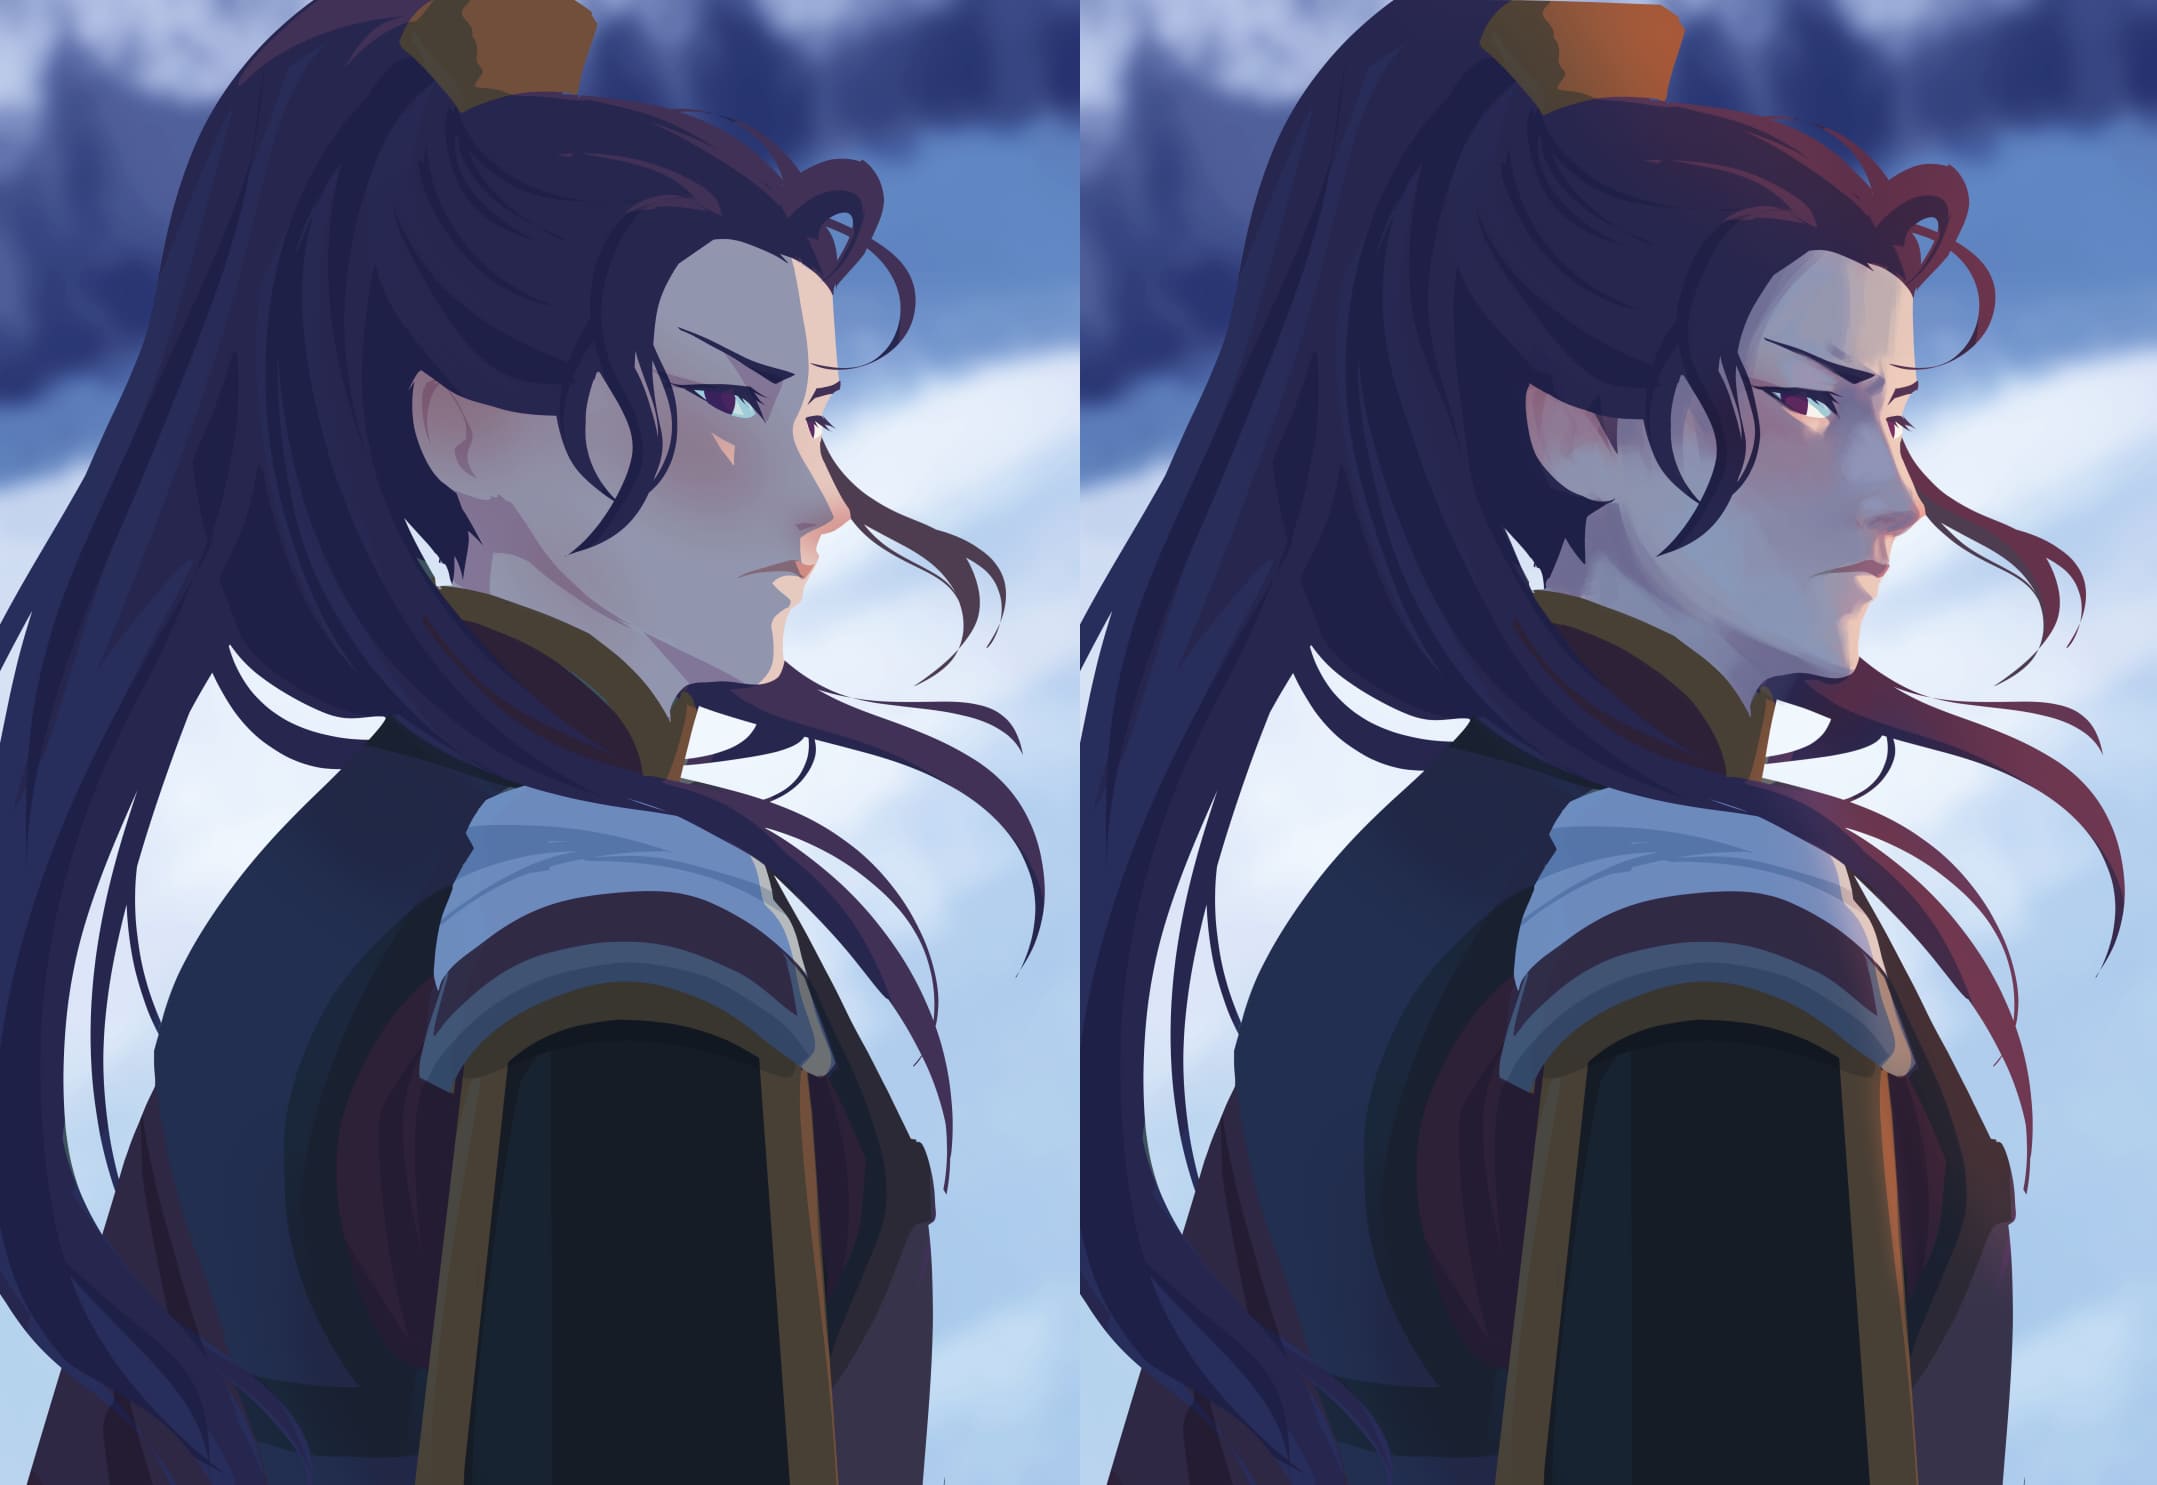
After I placed the shadows with the lasso fill, I started rendering, which is painting and blending to make it more realistic. This step takes the longest, because I need to render the whole character (although some areas will be more polished than the others, in my style all of the image needs a base level of render). I also added more blue to the character, to show some ambient light.
As I continue rendering, you can see I worked on his armor and clothes, as well as the headdress. His armor and headdress are more detailed because they are closer to the camera and/or closer to the character’s face. In comparison, his shirt is very loosely painted because I wouldn’t want to guide the viewer’s eyes to that area.
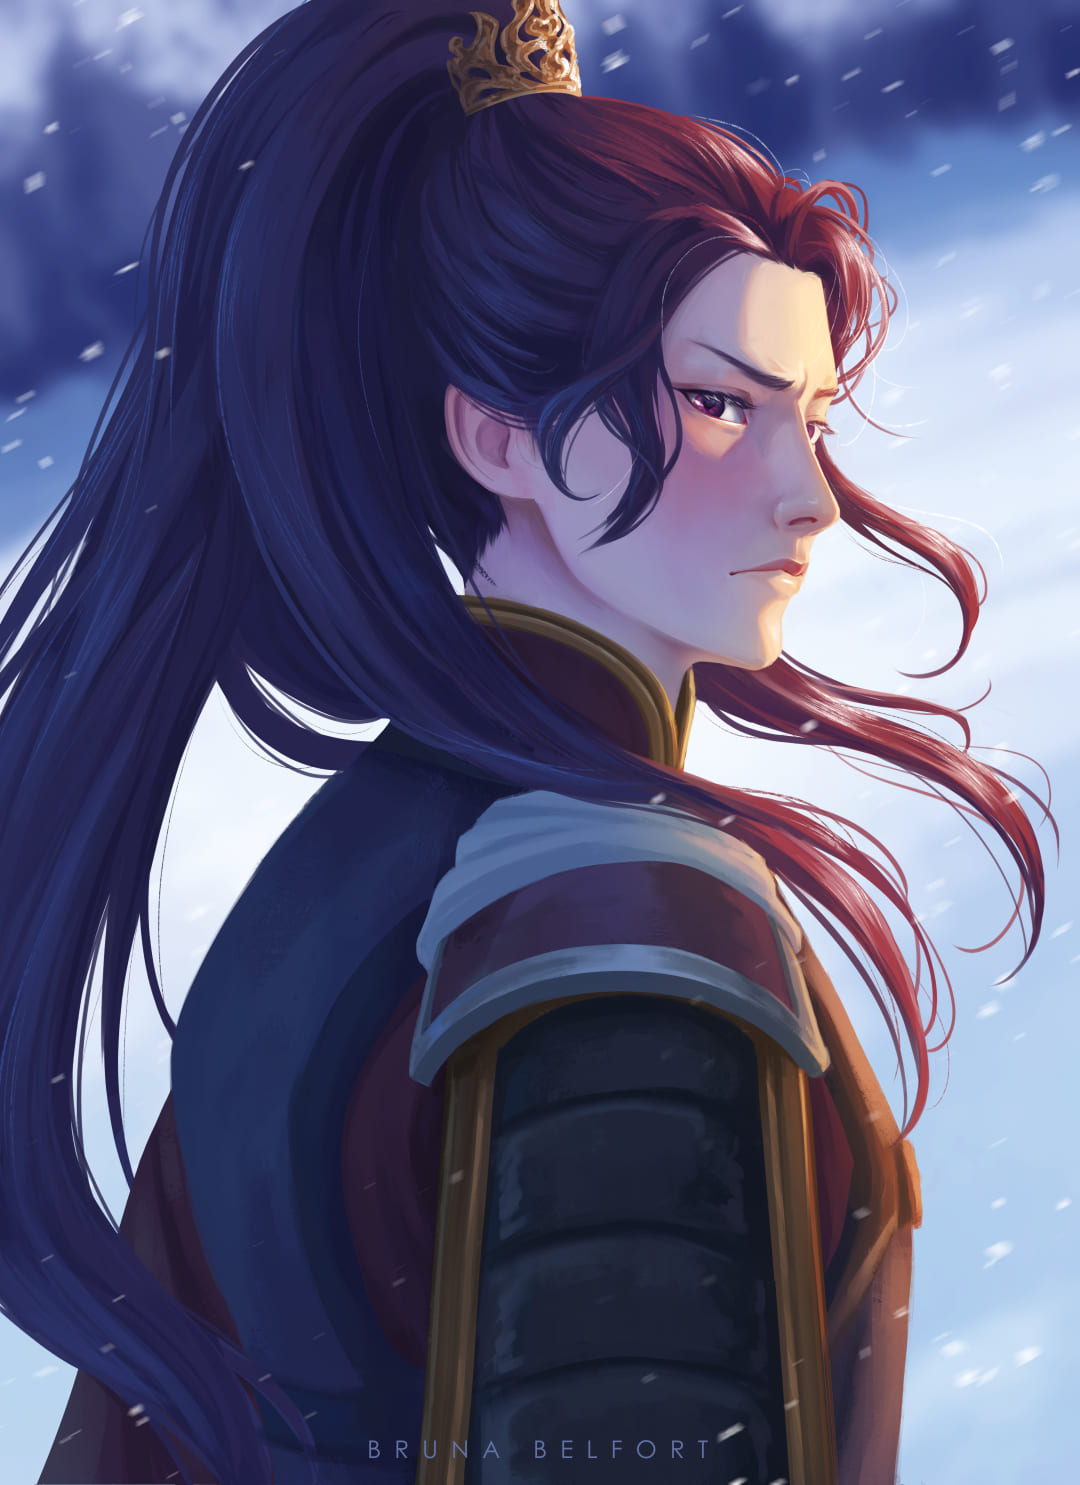
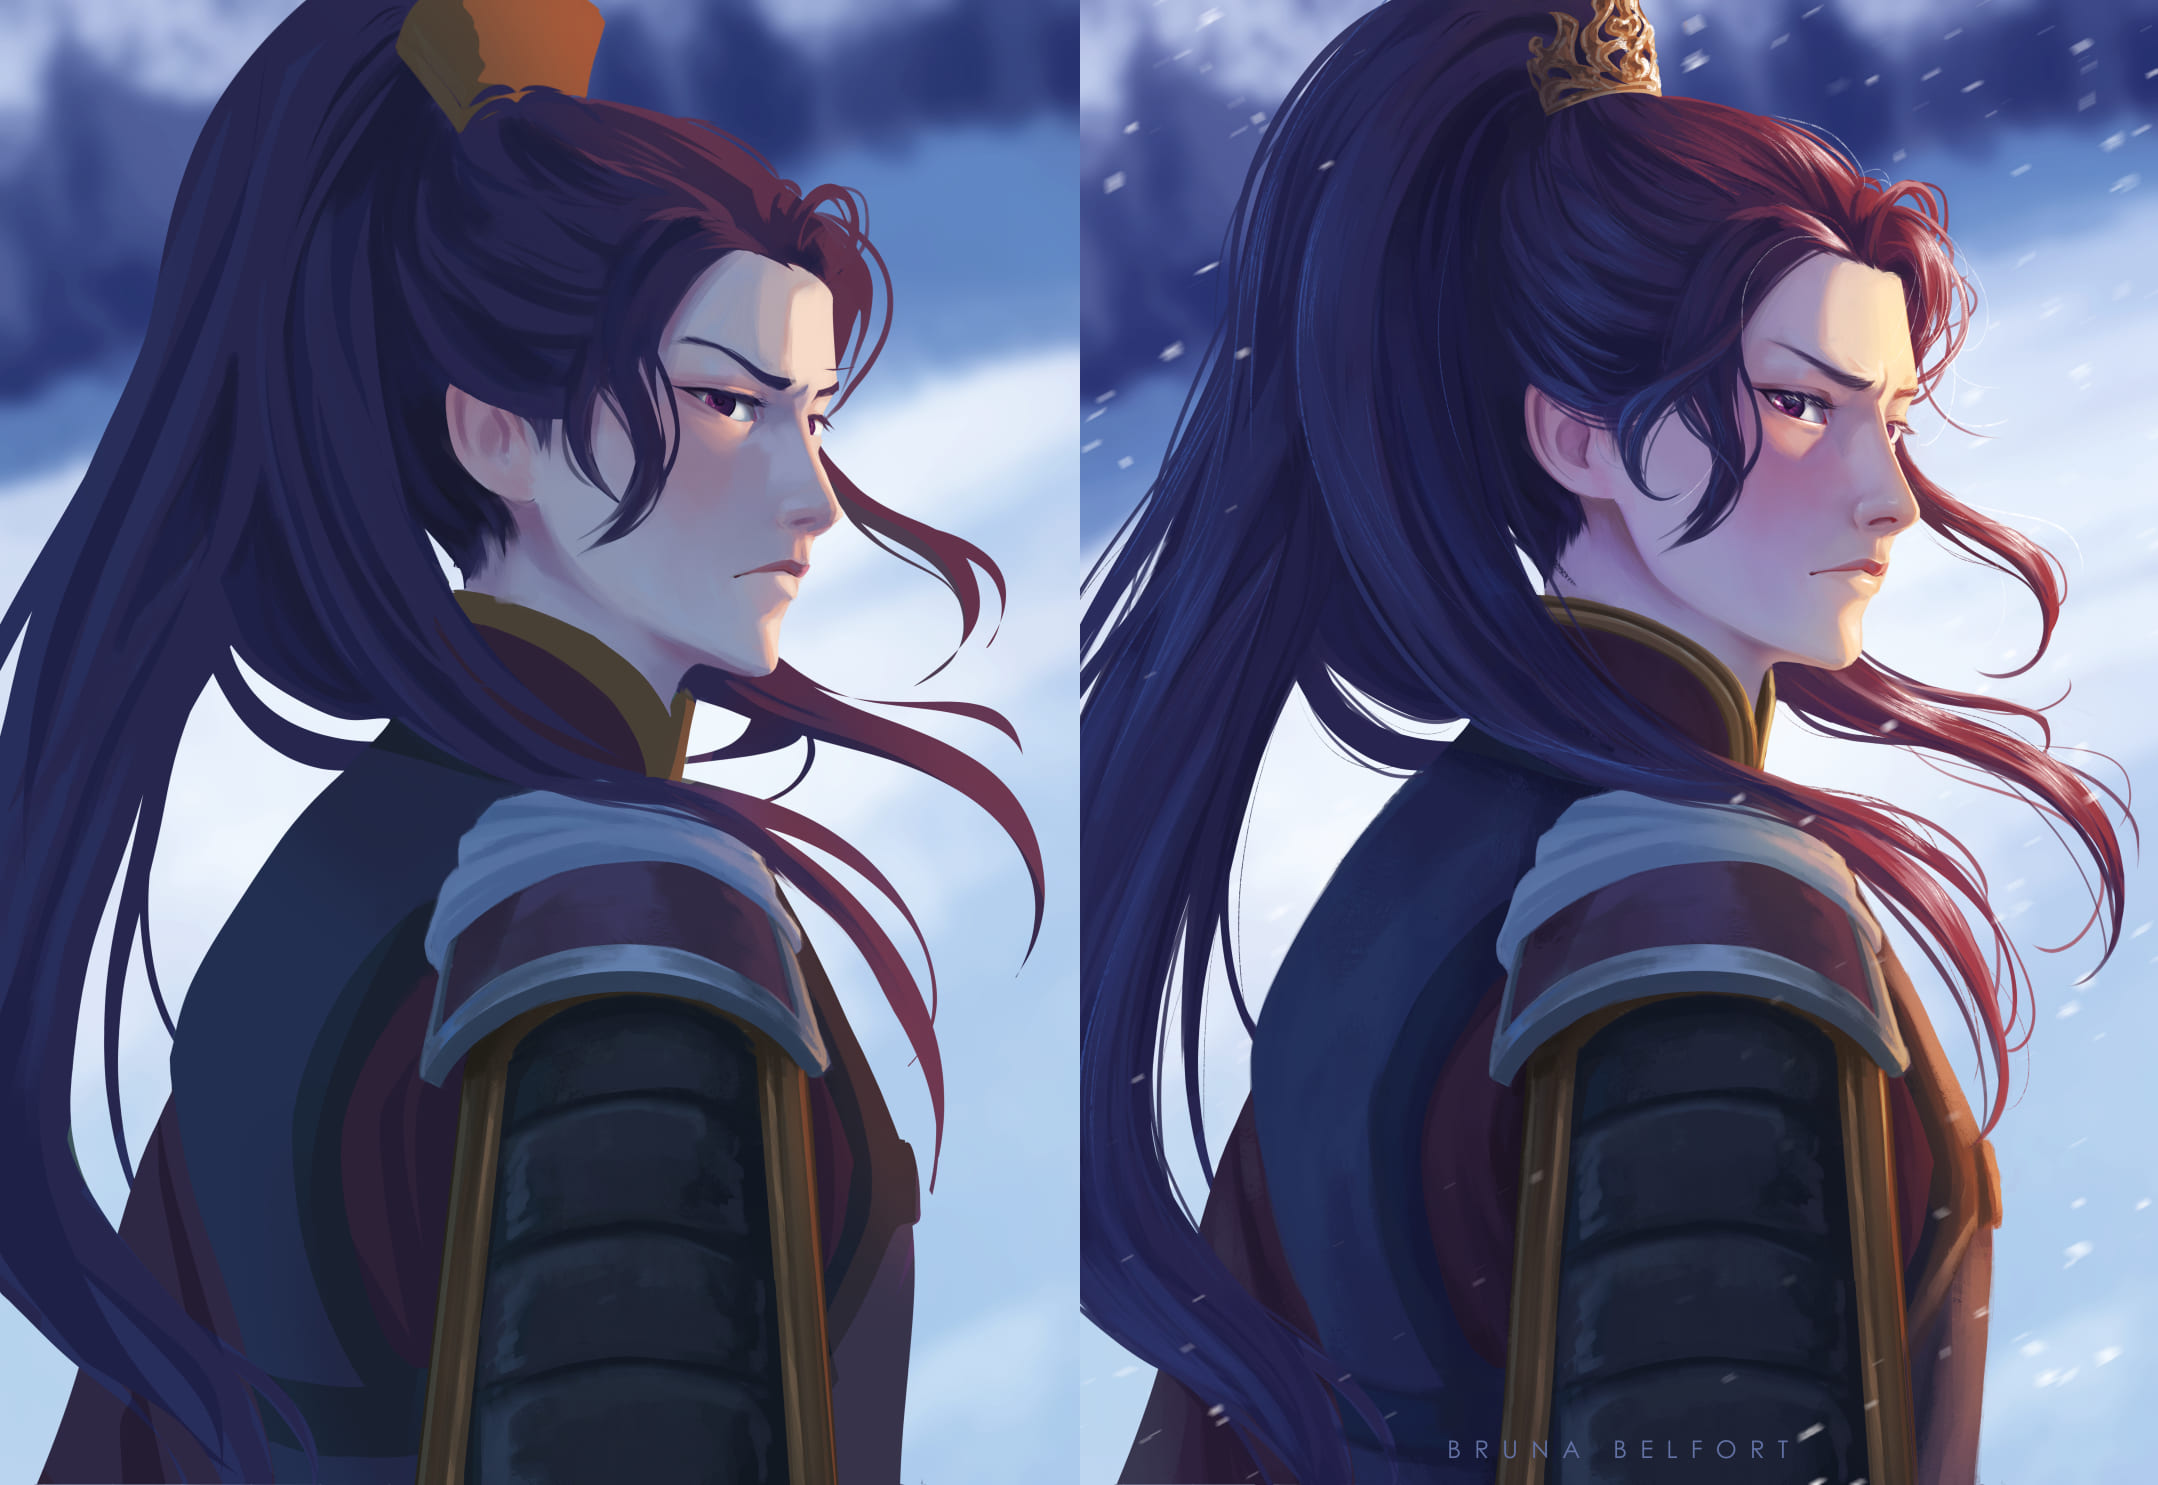
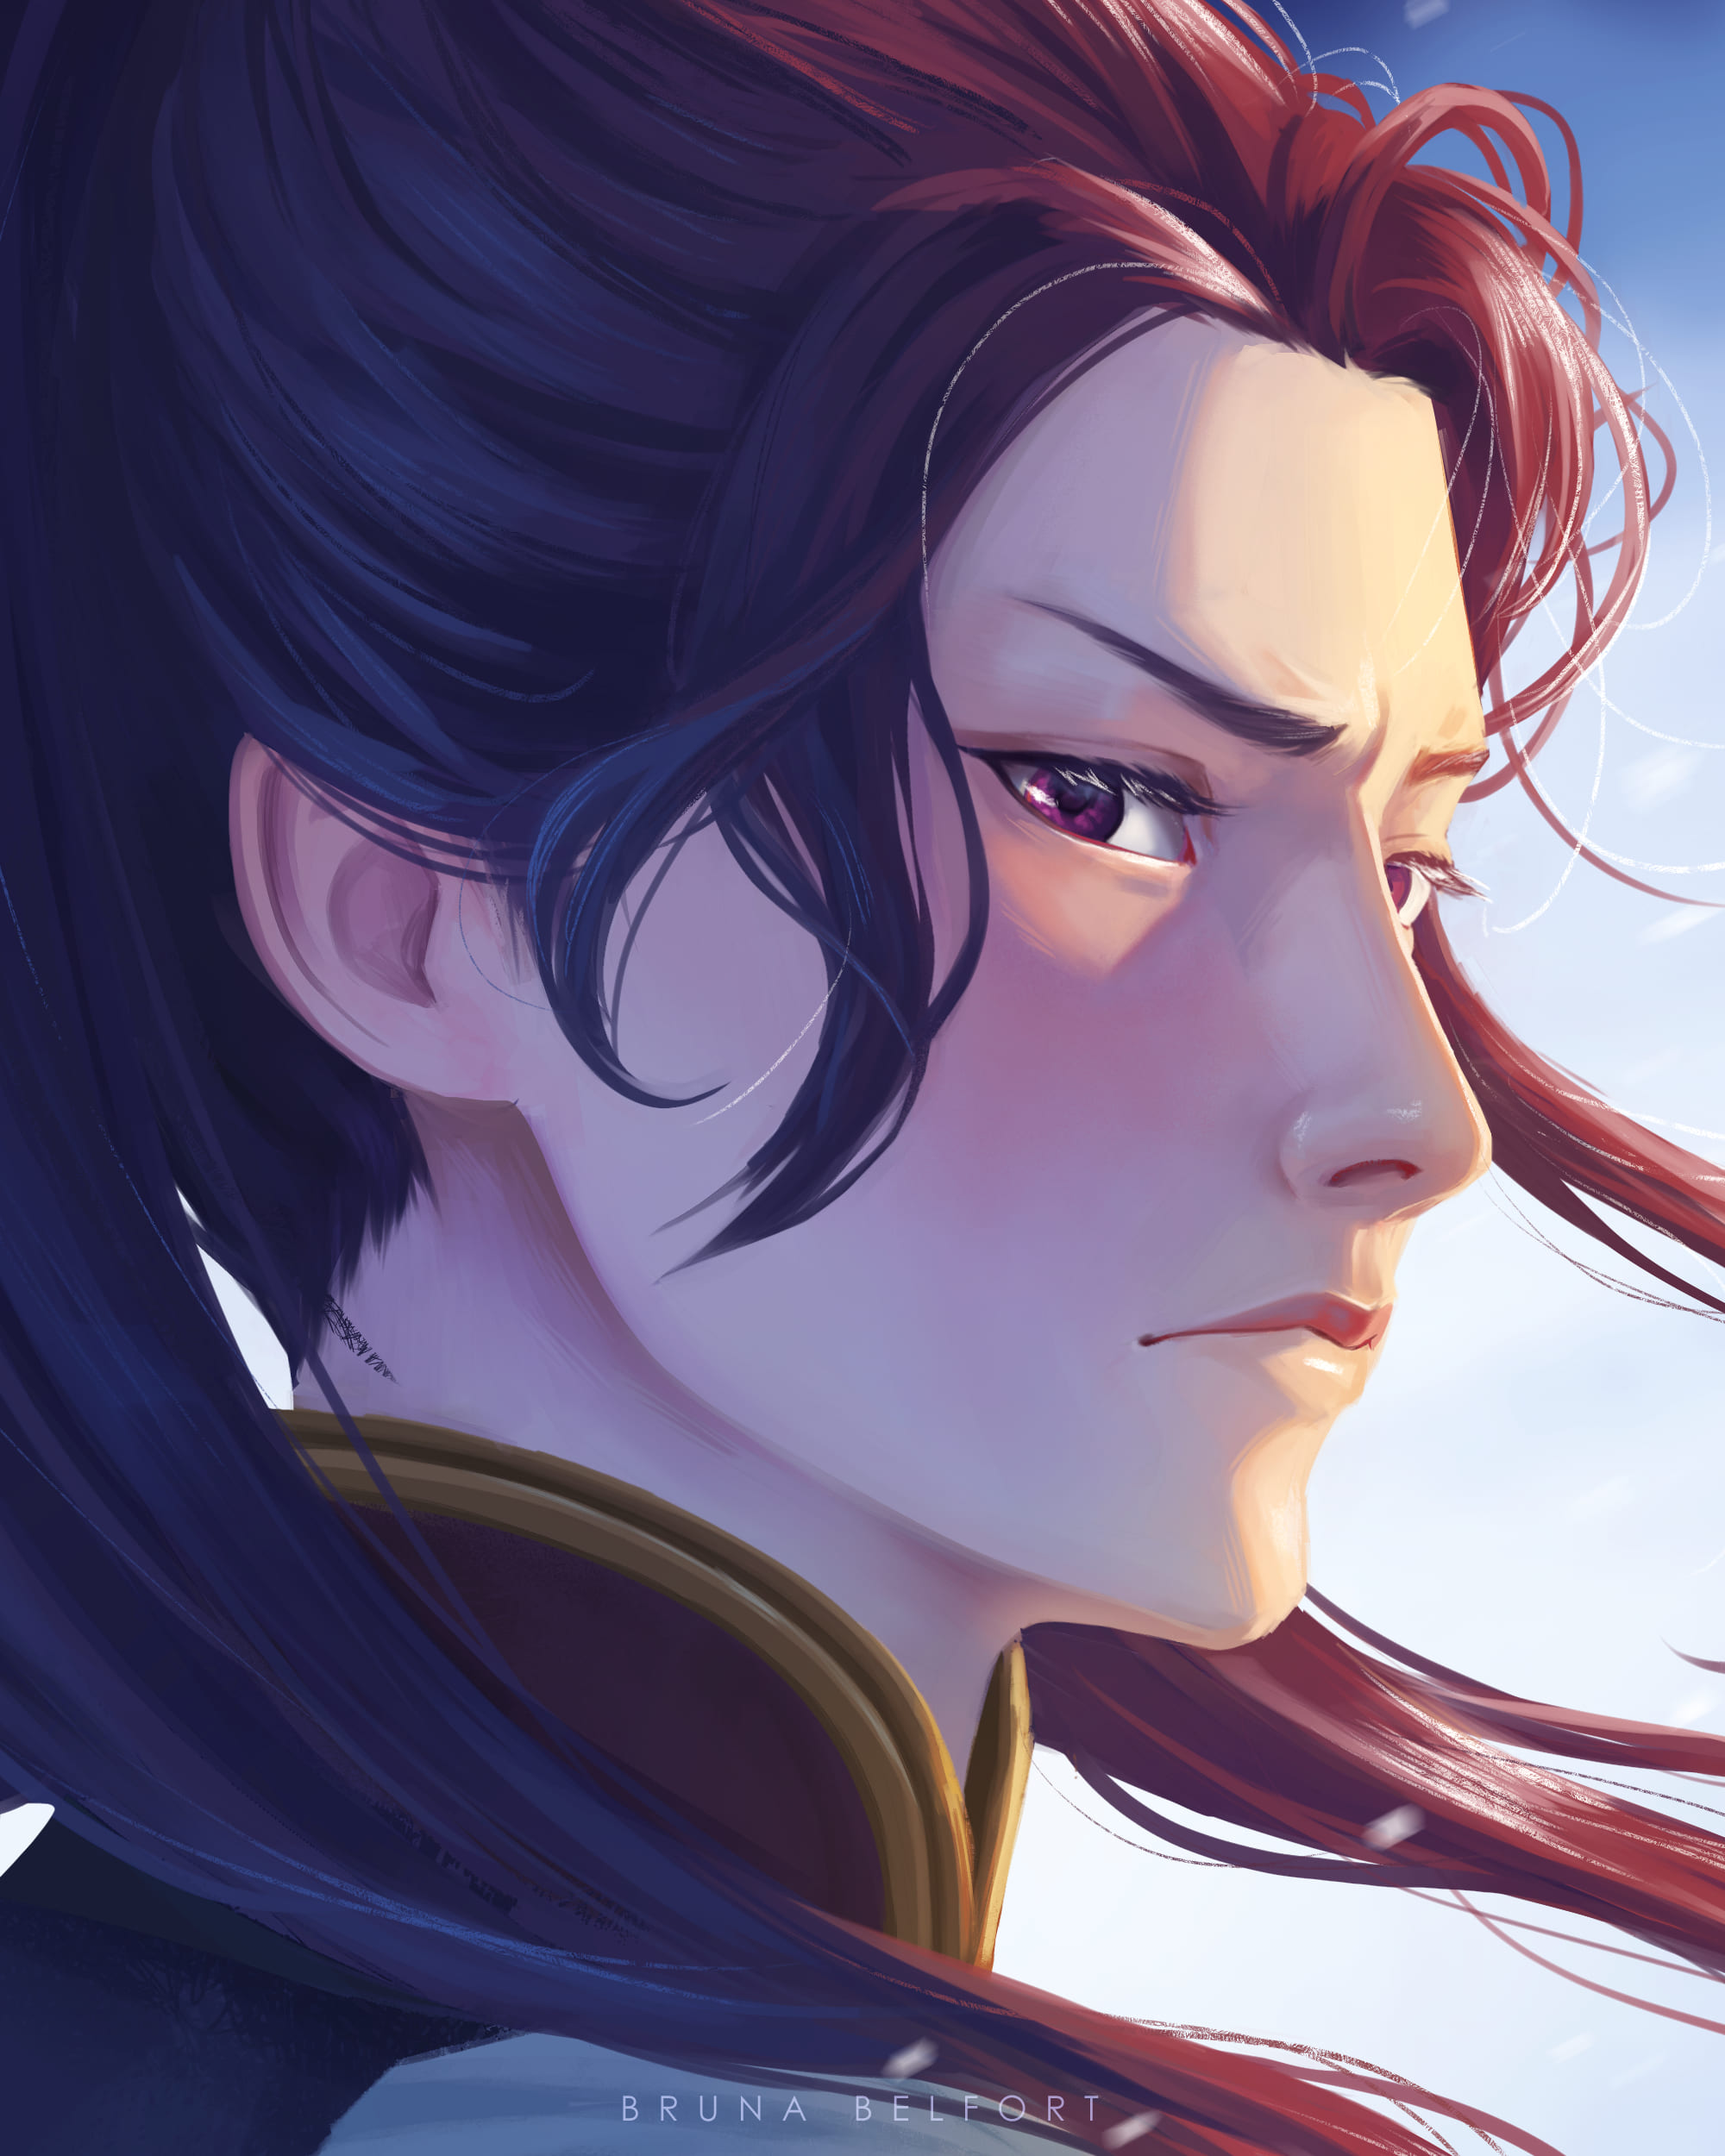
As a finishing touch, I added details such as single hair strands, highlights, snowflakes, and some texture and hatching lines (simply because I love the look of it!) I also improved the colors by pushing more of the orange glow on his skin and hair, and generally saturating the colors some more.
And this is how I finished this painting! Here’s a close-up of his face:
Before I even finished this painting, I already started working on another (typical artist... 😂) Since I’m really digging these Chinese- and Central Asia-themed characters lately, you bet it has the same theme!
Here’s a sneak peak of how the piece is going:
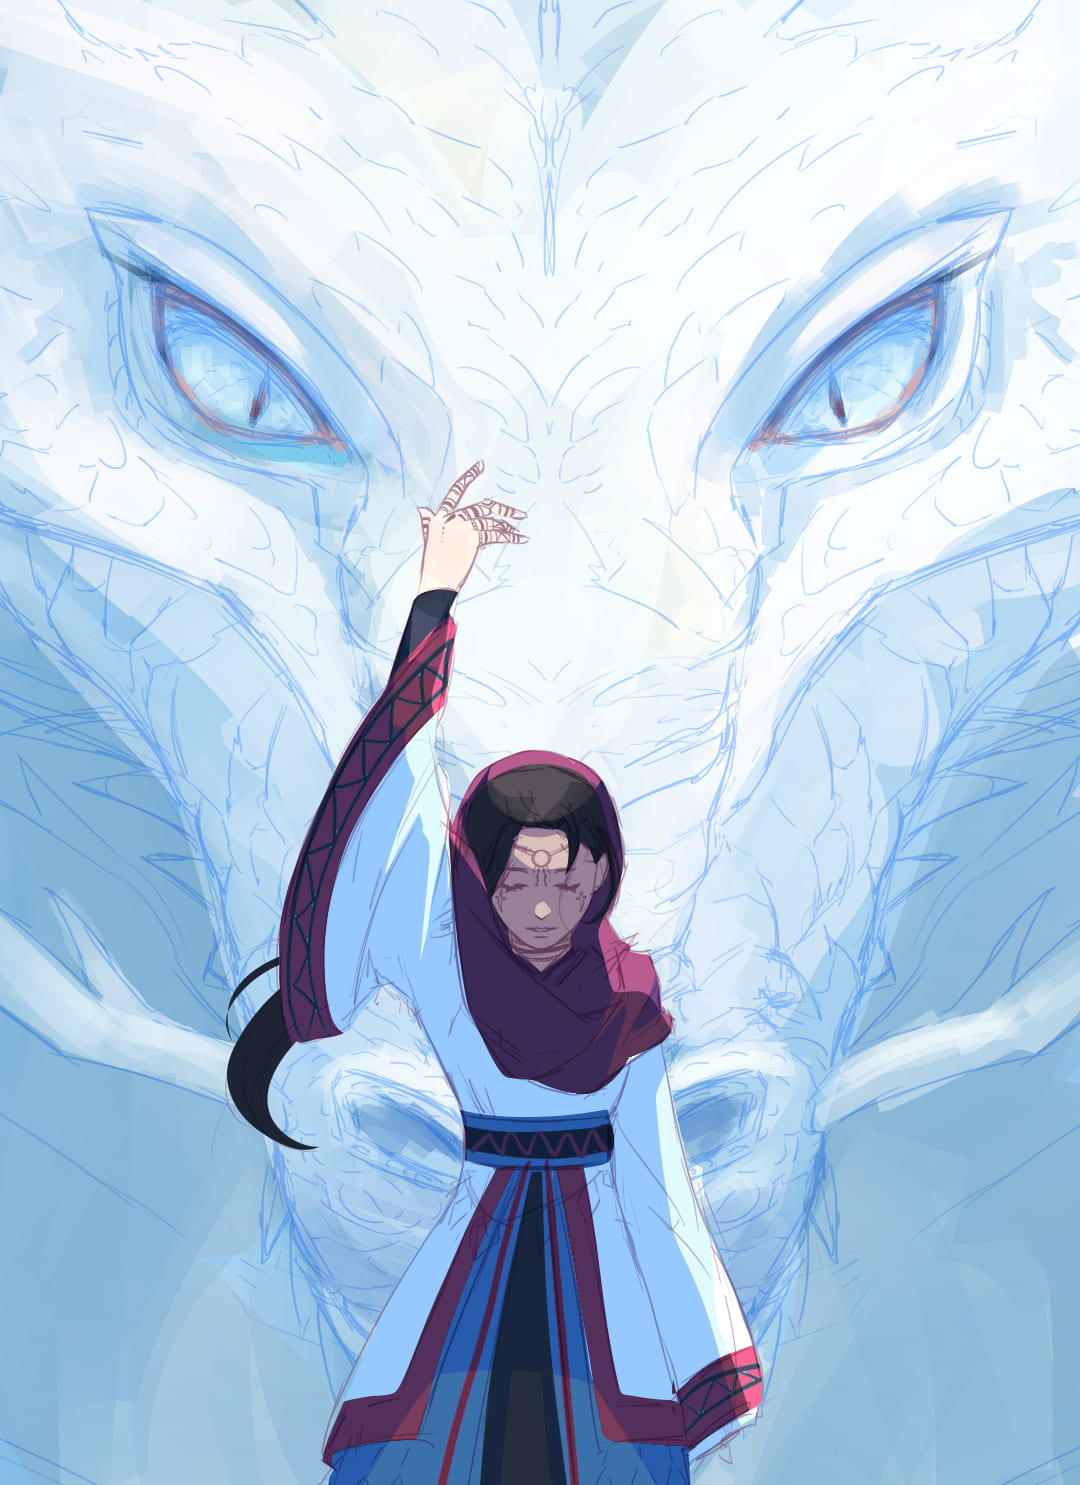
I’ve been accidentally developing a story with this girl and the dragon lately. “How the heck do you accidentally develop a story?”, you might ask. Well, I’ll tell you about it some other time! 😁
I’m at the color sketch phase now, so I’m experimenting with different light and color scenarios. To be honest, I’m not 100% sure about the current colors, but I feel it’s a good start! I’ll make sure I get the colors to my liking before I even consider rendering, or I’ll be wasting my time rendering something I don’t like (and that will be much harder to fix later.)
Lots of love,
Bruna Belfort